and Daysie gets a lot more.
The remote now sits glued to the dash under the heated grip switch, the GPS receiver is stuck in about the same place on the right.

Of course, I had to decide where the wires would run. First up I thought I could tuck them under the tank, but it looked a little messy. In the end I decided to do it properly and remove the tank (with the usual removal of the battery, battery box, side panels, tank infill panels and indicators).
The wires for the GPS, remote control and front camera are now tucked away, pretty much following the route of the main wiring loom and wires for the Satnav.

There's not a lot of room under the seat, so the control box is squeezed between the fuse box and a cross beam. It fits but only just.
Wiring was easy, +ve to the +ve terminal on the battery, -ve to the -ve terminal on the battery, and Viofo provides an additional blue wire to connect to a switched live. They recommend the ignition wire, but I soldered it on to a terminal under the fuse box. Seems to work well.
Finally, all the remaining wire was bundled up with a cable tie (again supplied with the dashcam) and tucked under the right-side panel and secured to the frame. I would have used the left panel as I ran the wires down the left side of the frame, but the excess wiring for the satnav is there.
There's still a few more things to check, like how well it picks up voices and I've yet to use it in failing light or at night, but I'm sure I'll get around to that.
A nice little touch is the Viofo App that lets you see what the camera sees i real time via a Wi-Fi link. You need this app to configure the camera, setting up what's displayed on screen, GPS co-ords, speed, etc. and to set the clip duration, from 1 min to 10 mins. there are a few other settings too. Overall, I'm quite pleased with it.
Daysie
Not been too
busy in the garage this week, but seem to have spent a lot of money. What
prompted my cash splurge was a nice little tax rebate. Long story short, since
starting my new job in May, my tax code was wrong, so the Taxman has been
taking too much from each payday. (For our non UK readers, our employer is
responsible for deducting tax from our wages then handing it over, before
giving what's left to us. The Taxman tells our employer how much to deduct
using a tax code).
So in the
past few days, I've paid out for:
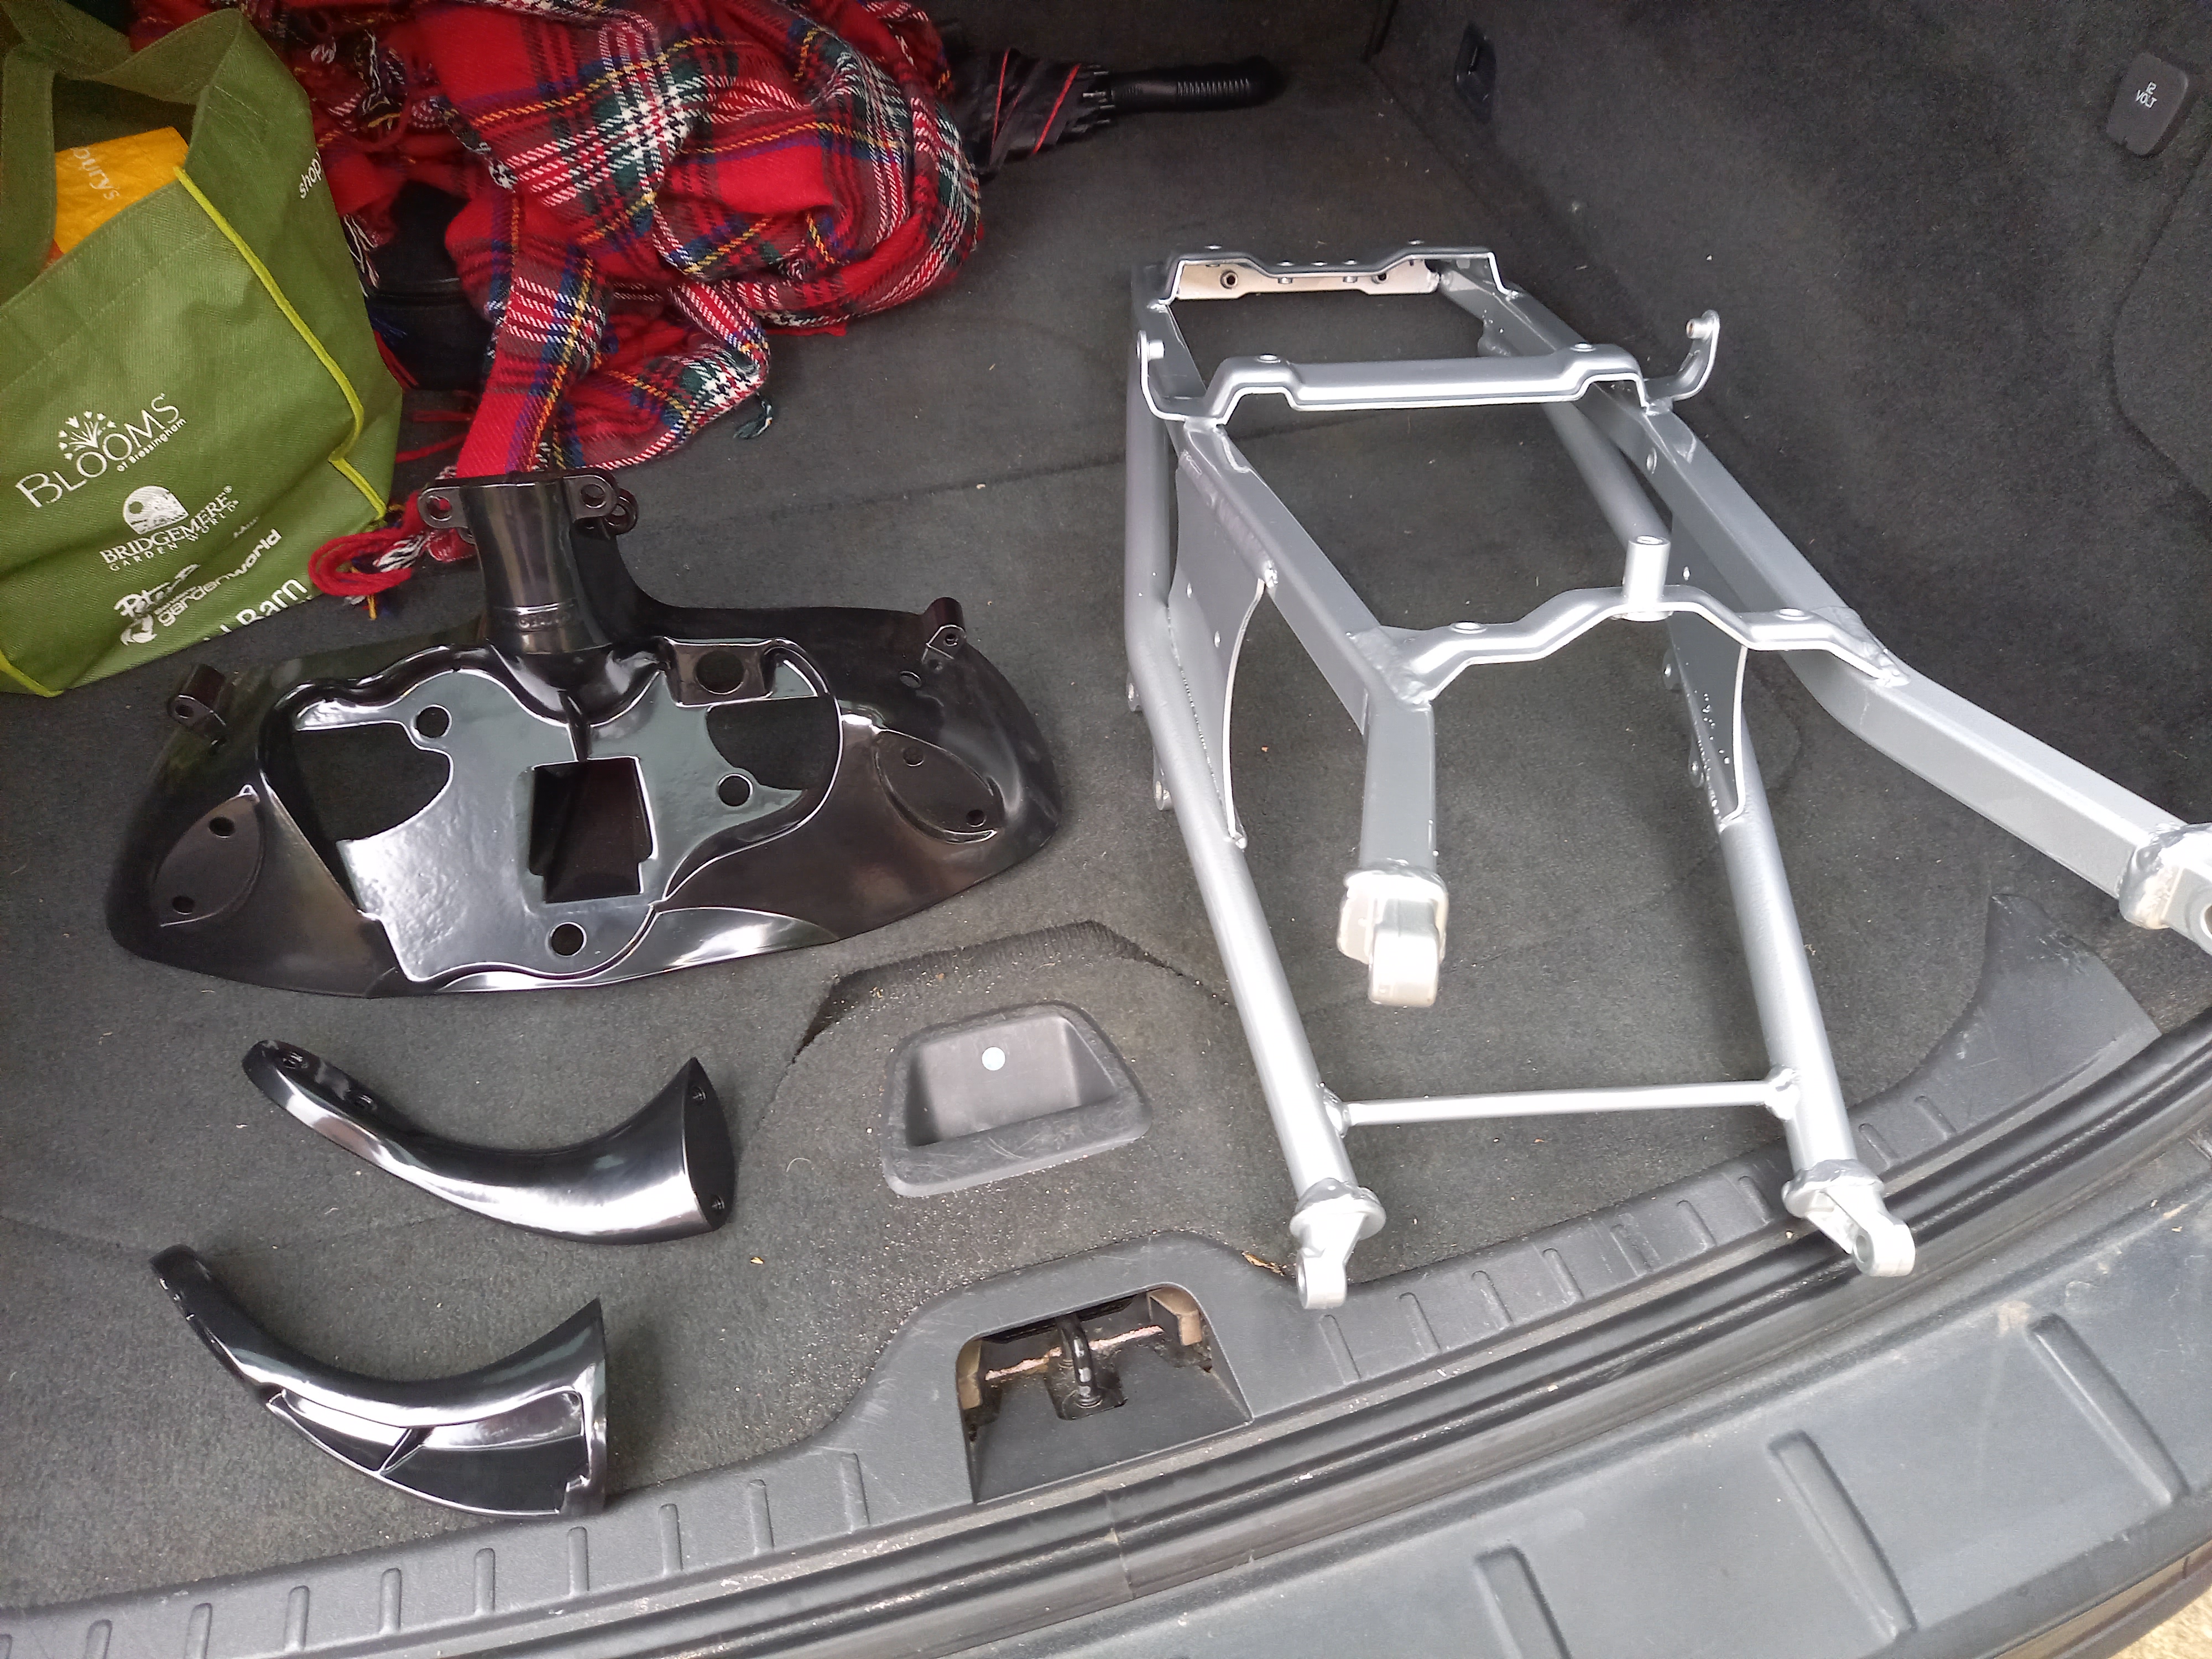
- sub frame, mirror brackets and instrument pod powder coating
- rear brake light switch
- oil lines
- air filter
- front brake reservoir
- clutch lever (the original one is slightly bent)
- brake lines
- coolant hoses
and a few
other small bits & pieces.
I haven't
been completely inactive in the garage though. I've had another crack at
undoing the front sprocket nut, using my air torque wrench and a borrowed 2-foot
breaker bar without success. I tried another method a friend suggested, using
an extension bar, supported by a strategically placed axle stand, but still no
joy. I'm going to have yet another go at it later when I've got most of the
bike back together. I'll put Daysie back on her wheels, nose the front wheel
against the wall while Mrs L sits on her and activates the back brake. Then
I'll jump up & down on the breaker bar. If that doesn't work, the sprocket
is in good enough condition to replace the chain & rear sprocket, before I
take her off to my tame Triumph mechanic to sort out (I suspect it may need
cutting off).
I've removed
the rear wheel so I can assess the state of the rear hub. From what I can see,
it all needs stripping down & rebuilding, as does all the suspension
linkages. The rear shock itself needs either replacing or rebuilding. My
initial thought is to have it rebuilt. Brook Suspension can rebuild it &
powder coat the spring for around £190, compared to a new YSS shock at £330.
I've removed
the oil cooler & pipes and as suspected the pipes are pretty corroded, so
much so that they're likely to fail, so they'll get replaced. In removing them,
I've drained the oil from the engine & when doing so, ran a magnet through
the oil to pick up any metal bits that may be there. It was clean & the oil
didn't feel gritty when I rubbed it with my fingers. It didn't smell of
anything but oil, so I don't think Daysie’s 12-year rest has done any harm.
Once I've put the water pump back on, I'll change the oil filter & refill
it. I don't think leaving it with no oil in for long periods is a good idea.
It's a 3-day weekend now, so I may get more done, or I might take Tabitha out. Sadly, I still have shopping to do (can't get out of it this week), have my mother’s dog to walk Sunday, so only have Monday free at the moment anyway...
We'll see.
 |
| IACV removed & cleaned - will need to replace the vacuum hoses |
 |
| Water pump not looking good but cleaned up well |
 |
| Cleaned up alternator - hopefully it works |
Comments
Post a Comment